Openers · Whitchurch-Stouffville
Smart Garage Controller Setup
You are twenty minutes down the highway when the thought lands: did the garage door close behind you?
In plain words
Everything about this service starts with the label on your opener. Brand, model number and year of manufacture decide whether a hub can be wired to the same terminals your wall button uses, whether it must instead pair by radio the way a new remote does, or whether the opener already has connectivity waiting to be activated. On many openers the colour of the learn button is the shortcut to that answer, because it marks the generation of radio coding the unit speaks. The technician reads all of this before choosing hardware, so the controller that goes up is one the maker lists as supported for that exact opener.
How the visit goesThe house came with a controller already screwed to the garage ceiling and a sensor on the door, but the app insists the device belongs to another account. The seller has moved provinces, the emails go unanswered, and every evening the door still reports to a stranger's phone.
Smart Garage Controller Setup
How the visit goes
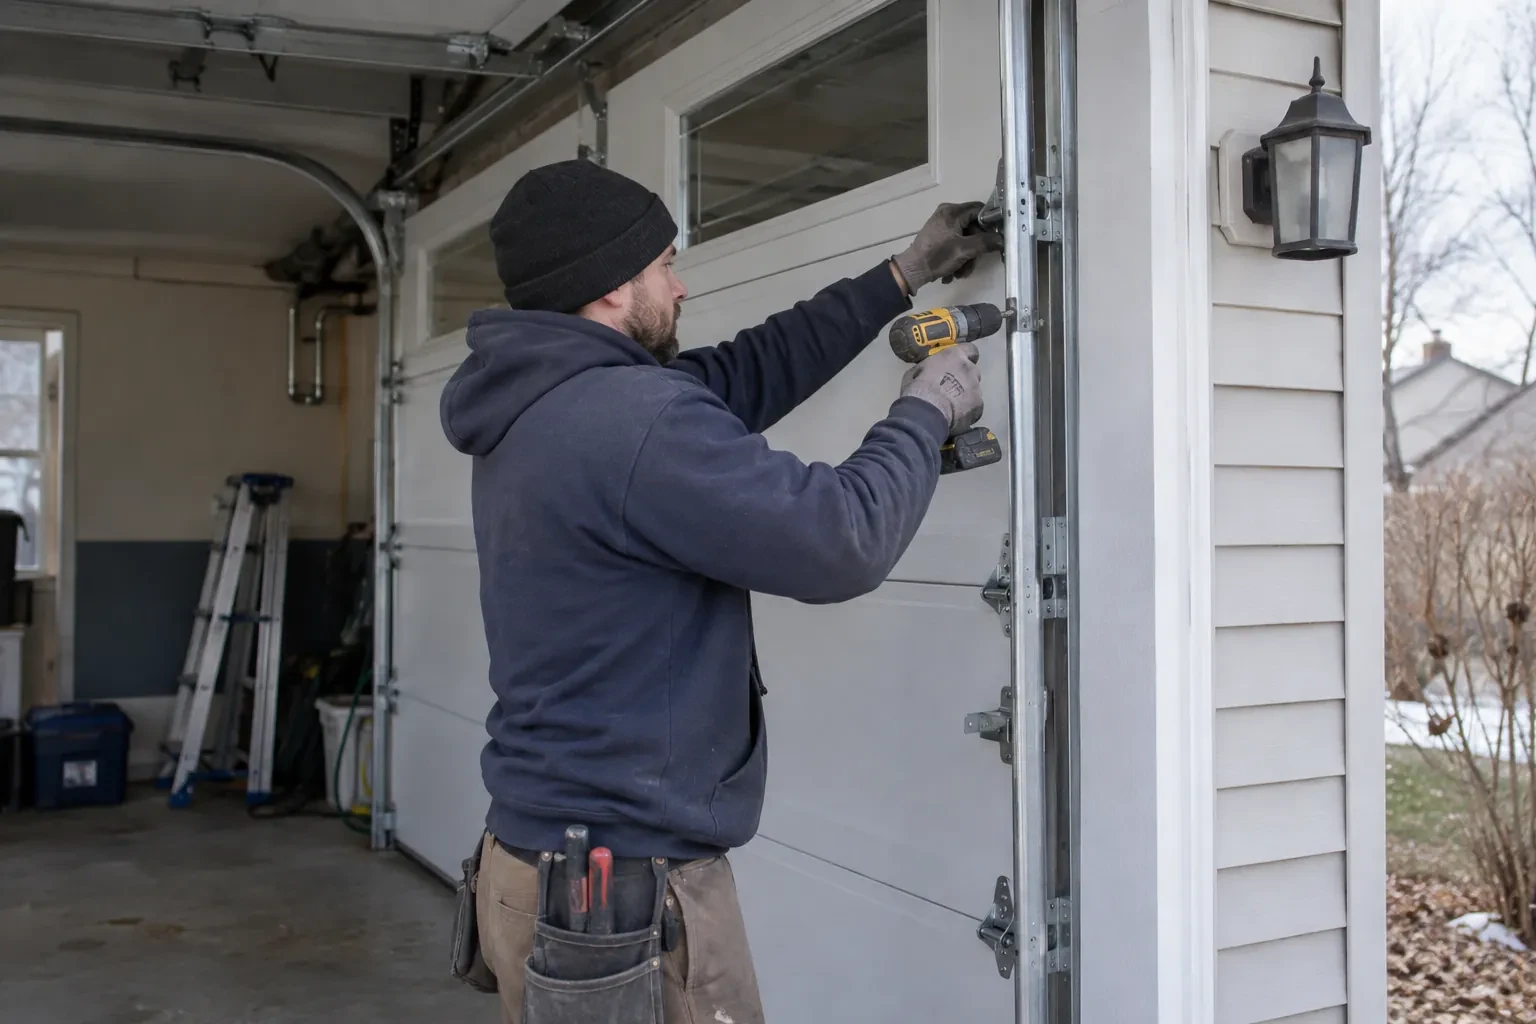
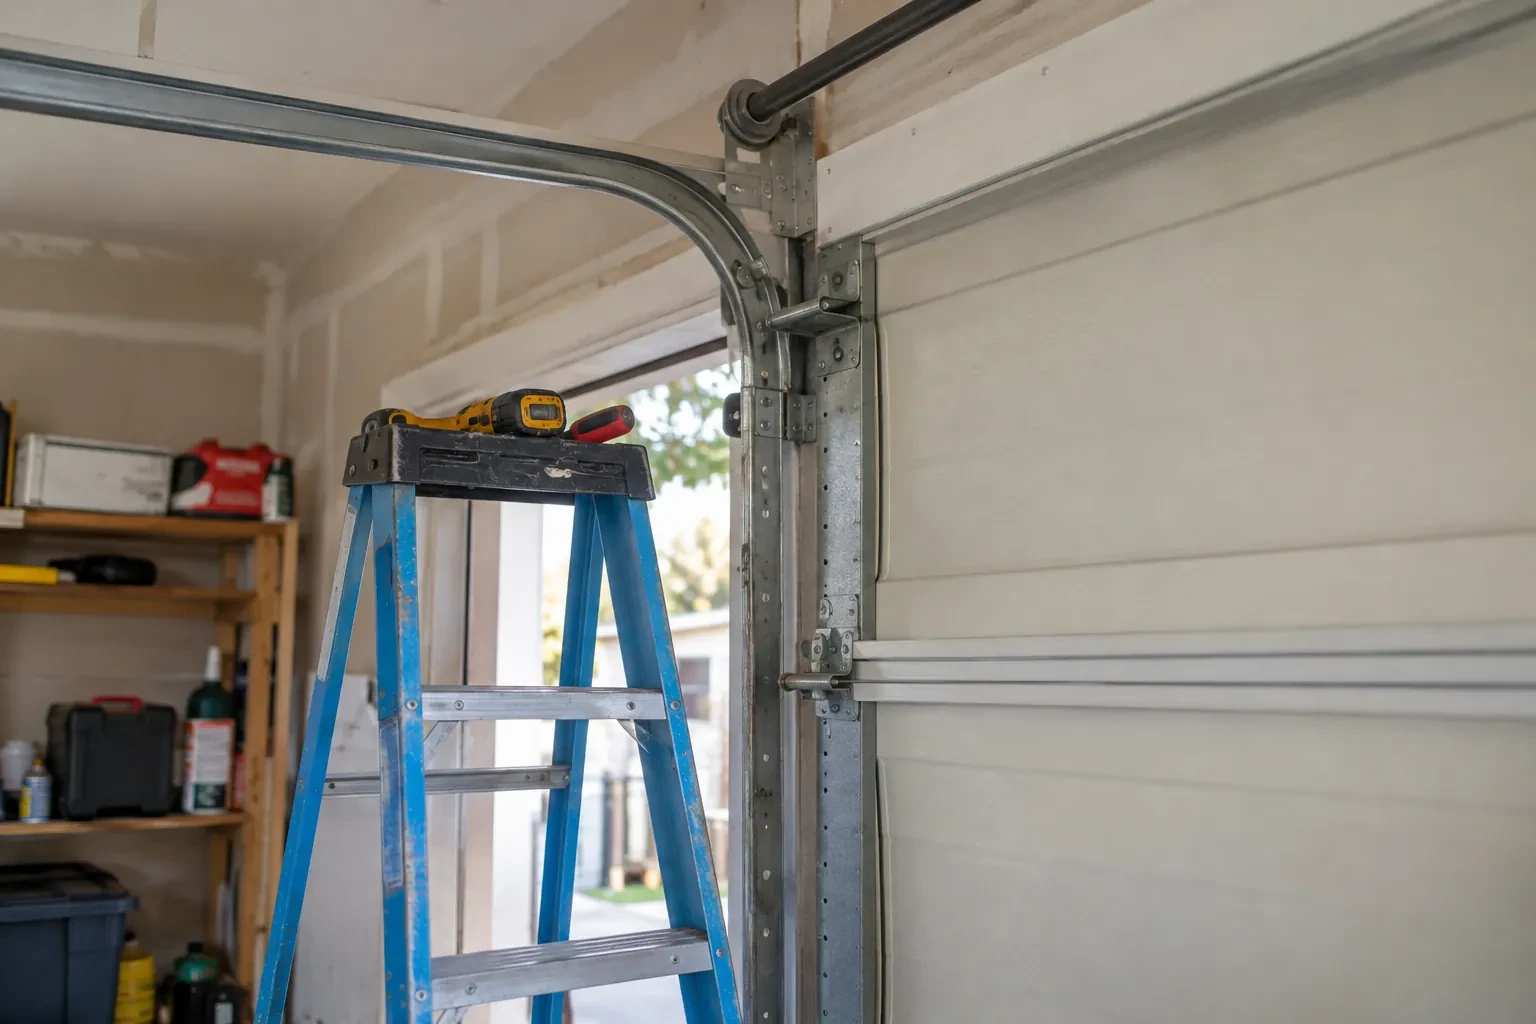
Where the sensor will sit
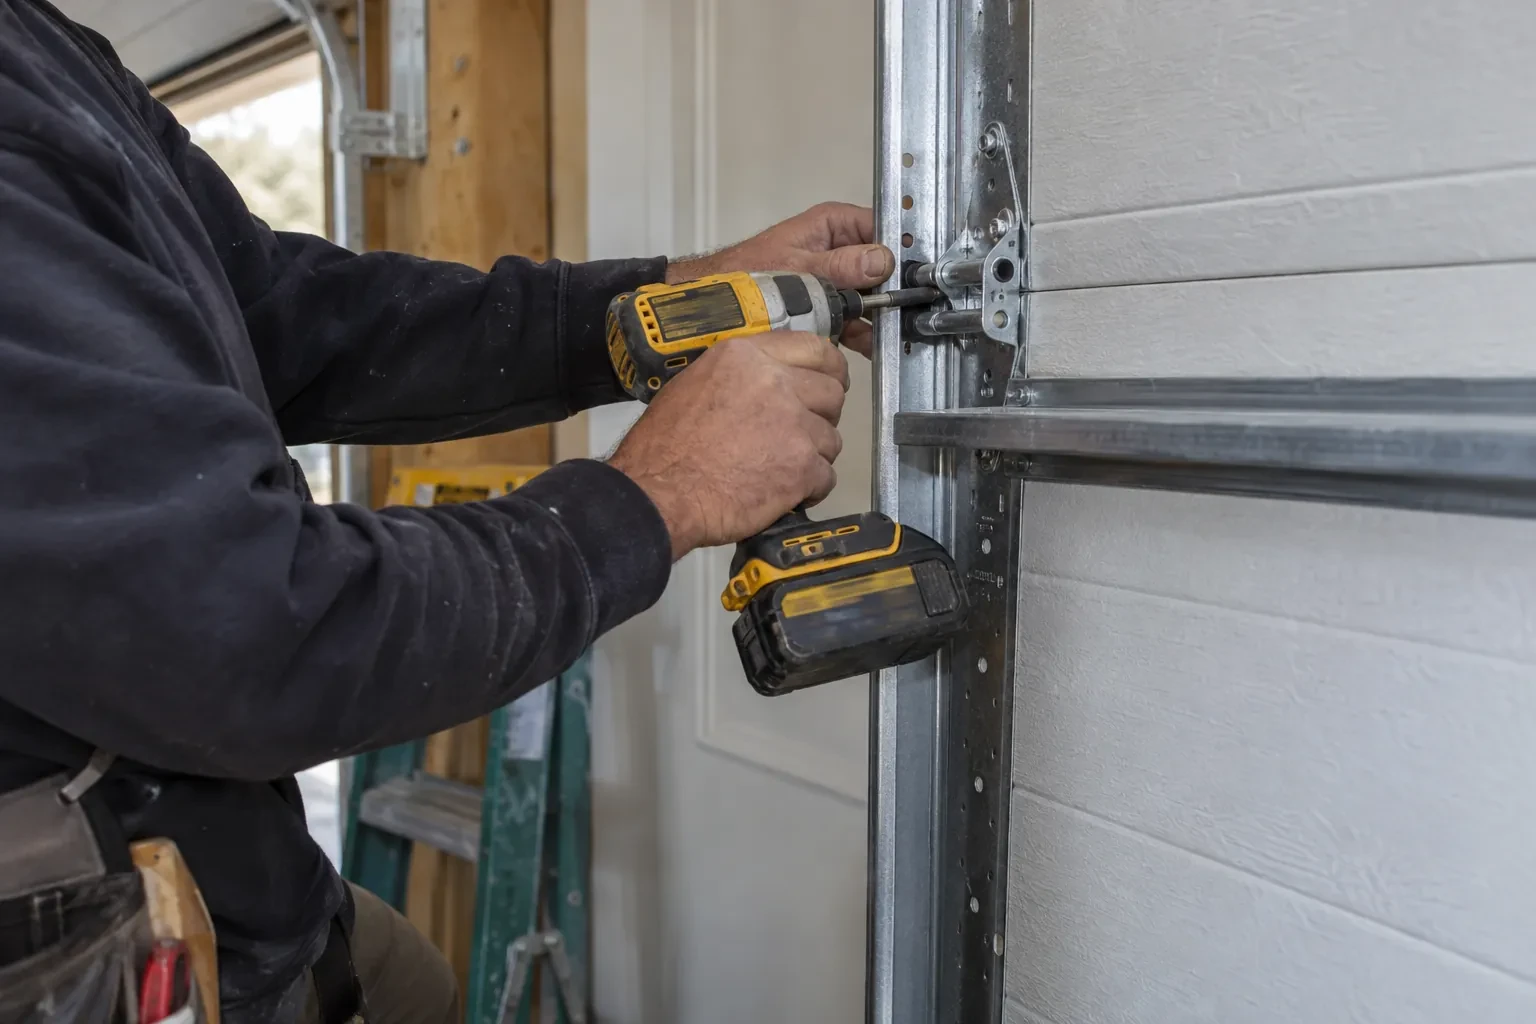
The door-position sensor works by tilt, so it belongs on the inside face of the top door section, near a hinge line and clear of the opener arm, the lock bar and any handle. The technician checks the panel surface, since insulated steel and raised-panel wood doors have different flat spots, and checks the distance and line of sight to the hub. Homes with two doors need a sensor on each. On a door with a window section the sensor is kept away from the glazing frame. The battery type is noted, and the mounting follows the sensor maker's specified fasteners for this climate: screws, an adhesive strip, or tape as a temporary step before screws.
Joining the home network properly
The hub is joined to the network on the 2.4 GHz band and to the exact network name the household uses every day, not a guest network that might later be switched off. The technician checks that the router's security is a modern type the hub supports and that the signal at the hub's final position is comfortably above the minimum. Where an extender or access point was planned, it goes in first so the hub joins a strong signal from the start. After the join, the hub's firmware update is allowed to finish, and the device is power-cycled once to prove it reconnects on its own without anyone touching it.
Alerts that earn their place
You leave with a small set of notifications chosen on purpose rather than every option switched on. A left-open reminder after a set delay, a note when the door opens during hours nobody should be using it, and a message when a scheduled close has completed are the ones most households keep. If the alerts become noise, adjust the delays or turn one off rather than muting the app entirely, because a silenced app is the one that stays quiet on the night the door is up. The settings screen you were shown is where each of these lives, and changes take effect at once.
Smart Garage Controller Setup
In the van
Wi-Fi access point or extender
Dry-contact adapter for encrypted openers
Replacement photo-eye pair
A 2x4 offcut for the reversal test
Retrofit smart hub
Smart Garage Controller Setup
What affects the quote
Built-in radio or retrofit hub
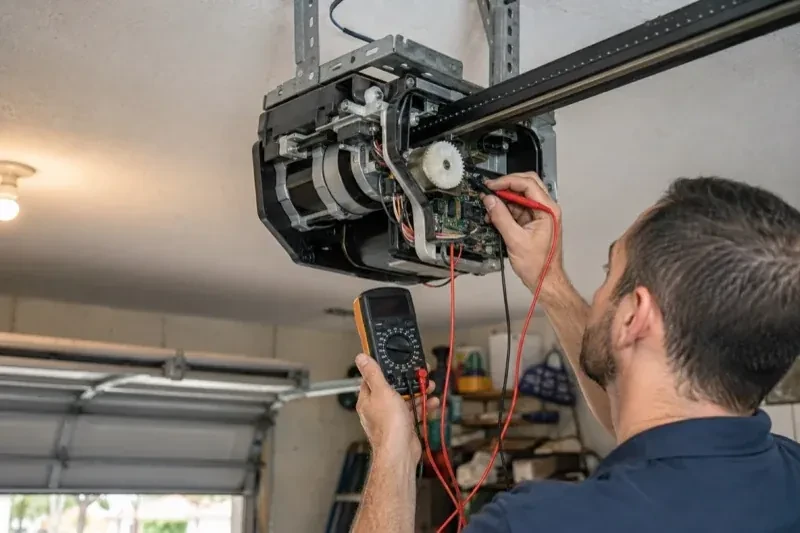
An opener whose wireless radio is already inside needs configuration and testing. An older opener needs a hub, a sensor, wiring or radio pairing and the same testing, which is a longer visit with hardware.
Power for the hub
The hub plugs into the opener's ceiling receptacle. If there is no spare socket, an approved splitter or a receptacle added by an electrical contractor becomes part of the plan.
Wiring route
Where the hub is wired to the wall-control terminals, the distance and route from hub to console, clipped clear of the chain and trolley, sets the time for that step.
What to have ready
- What colour is the learn button under the opener's light cover?
- Is there a wireless or network symbol printed on the head unit?
- Is there an existing controller on the ceiling from a previous owner?
Smart Garage Controller Setup: questions
QuestionsWhere does the door sensor go, and what does it do?
It screws to the inside of the top door section and senses tilt: that panel stands vertical when the door is closed and lies horizontal once the door is open, and the sensor reports the change to the hub by short-range radio. It is placed clear of the opener arm, lock bar and handles, on a flat part of the panel, then paired and proven through full cycles under the maker's own setup procedure so the status in the app is reliable.
Can I give a contractor or cleaner access for a day?
Most apps allow guest or scheduled access: a user invited for a set window, or a one-time code, that expires on its own. That is a better arrangement than lending a remote or sharing the family keypad code, because there is nothing to chase back afterwards and the history shows exactly when the door was used. The technician shows you how to create and revoke such access during the visit.
The previous owner's controller is still on the ceiling. Can I use it?
Usually, once it is released from their account. If the seller can be reached, they remove the device from their app; if not, the technician performs a factory reset using the maker's documented steps, which clears the old registration. The hub and sensor are then paired fresh, joined to your network and claimed under your own login, and the battery and sensor placement are checked rather than assumed.