Openers · Whitchurch-Stouffville
Garage Door Opener Diagnosis and Repair
For a few days there was a grinding sound whenever the door started moving.
In plain words
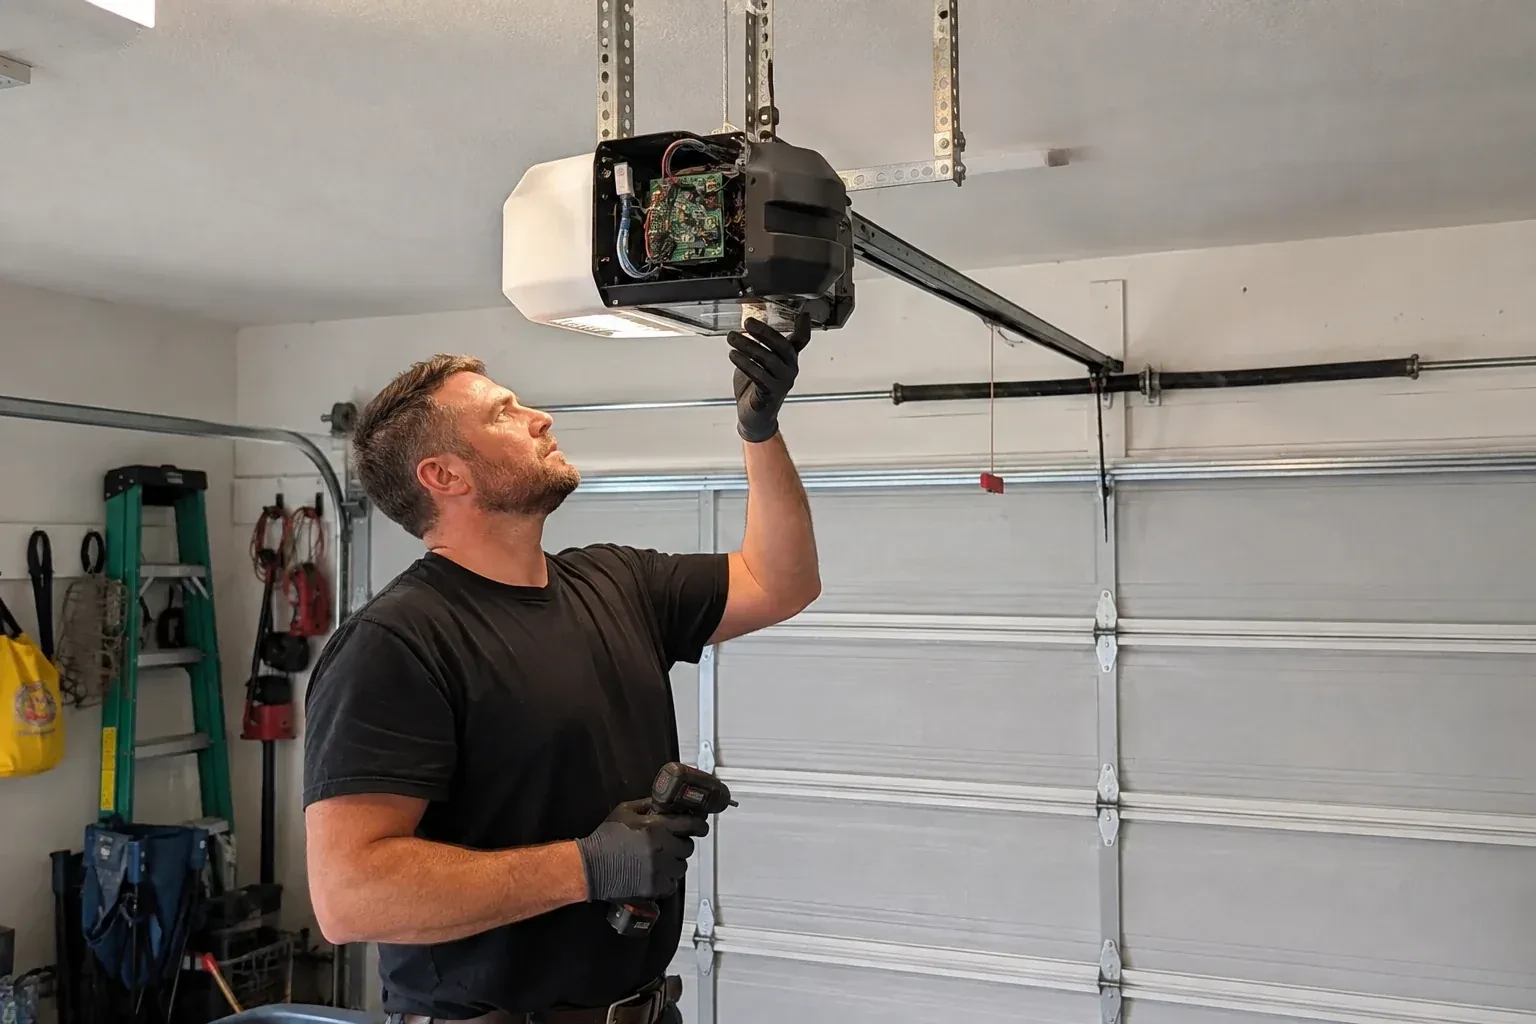
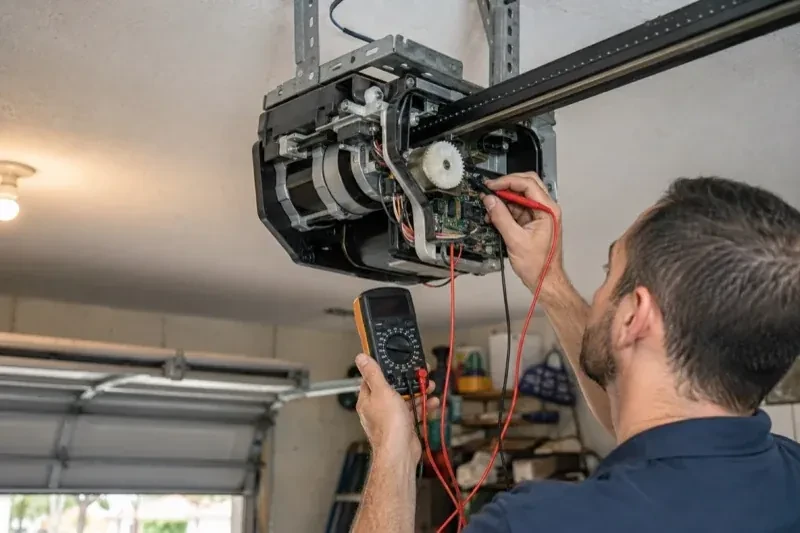
Most openers built in the last fifteen years report their own trouble. When something is wrong the head unit blinks its lights in a count, an up arrow and a down arrow flashing in a pattern, or a status light repeating a number. Each pattern has a meaning on the maker's chart for that model: a sensor circuit open, no motor movement detected, too much force needed to close. The technician reads the pattern, checks it against the model, and confirms it with a hands-on test rather than trusting the light alone. Older units without codes are diagnosed by ear, by meter and by hand.
How the visit goesFor a few days there was a grinding sound whenever the door started moving. Now the motor spins freely and the door stays exactly where it is. On the hood of the car there is a scatter of white plastic shavings that fell from the unit above.
Garage Door Opener Diagnosis and Repair
How the visit goes
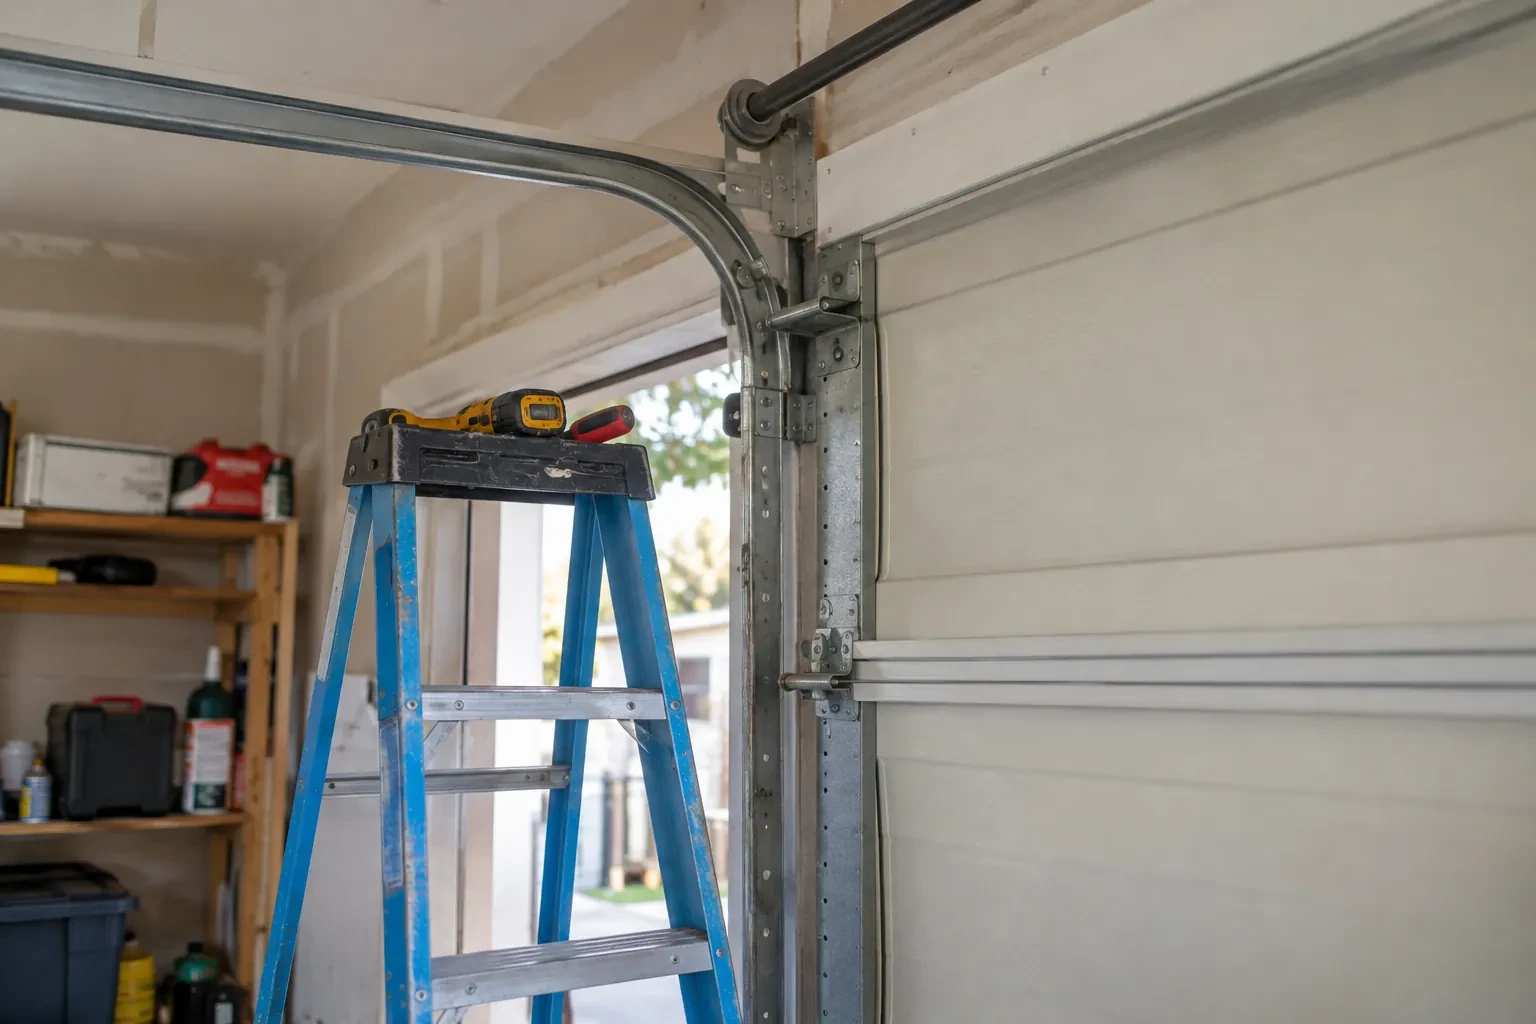
The story before the tools
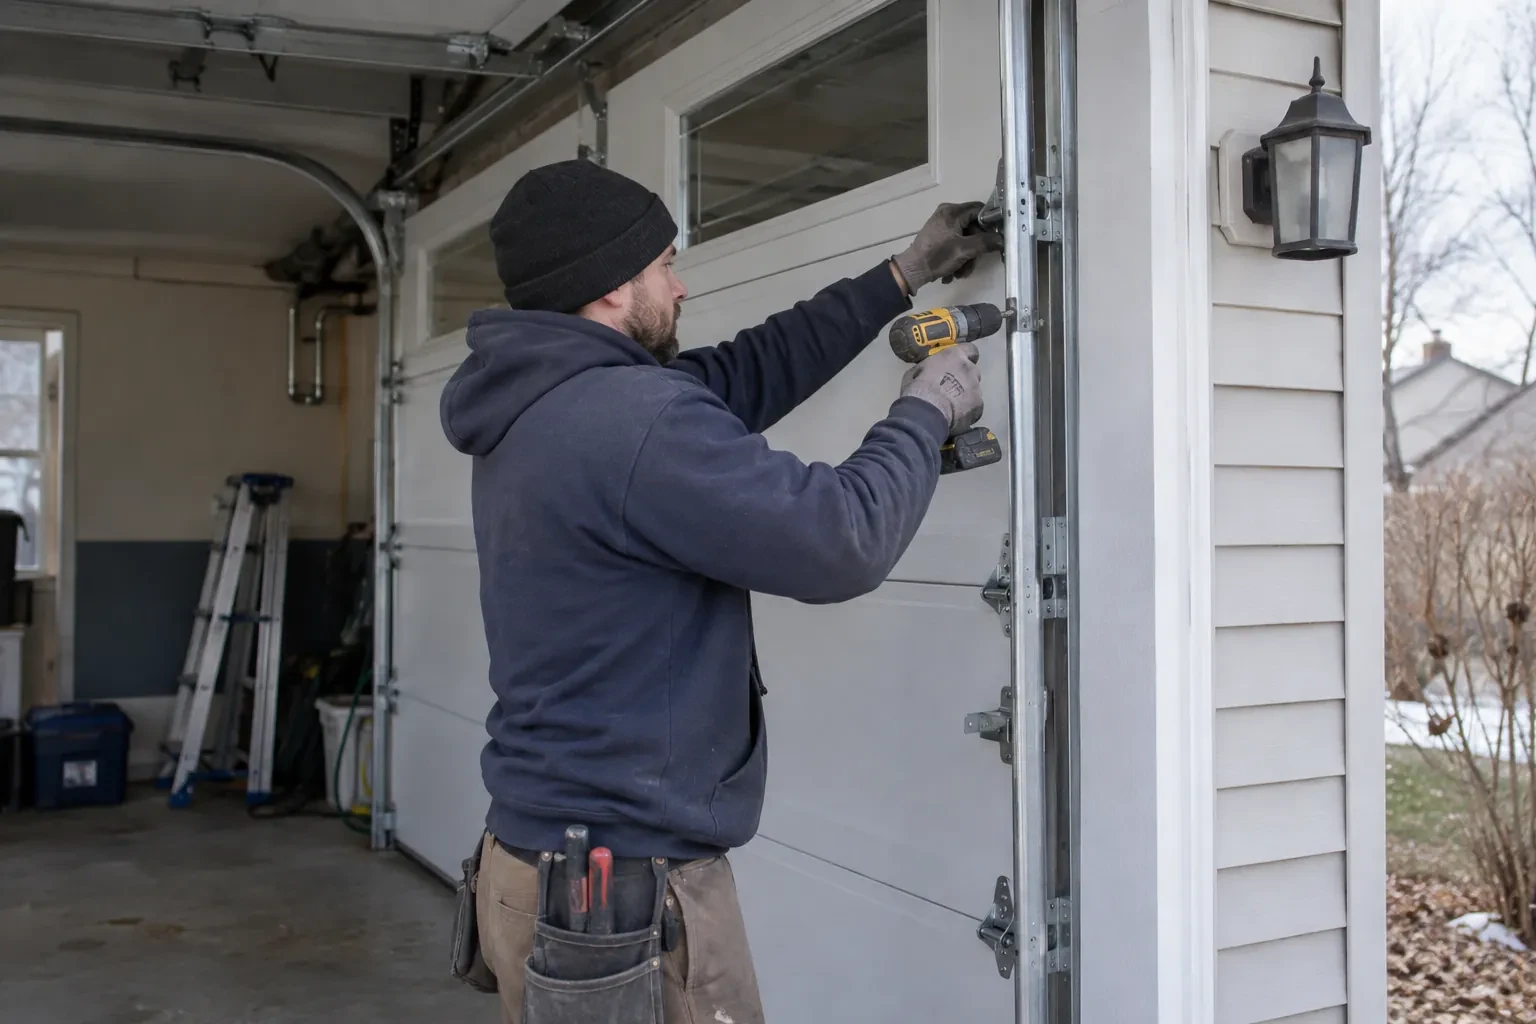
Diagnosis begins with what you saw and heard. When did the door last behave, and what changed between then and now: a power outage, a storm, a new light bulb, a shovel leaning against the sensor, someone pulling the red cord? Does the motor hum, click, run or stay silent? Does the fault follow one control or all of them? Is the door stranded up or stranded down, and does it move at all by hand? A few minutes of this on the phone or at the door points the technician at one part of the system instead of all of it, and often shortens the visit considerably.
Re-engaging or rebuilding the drive
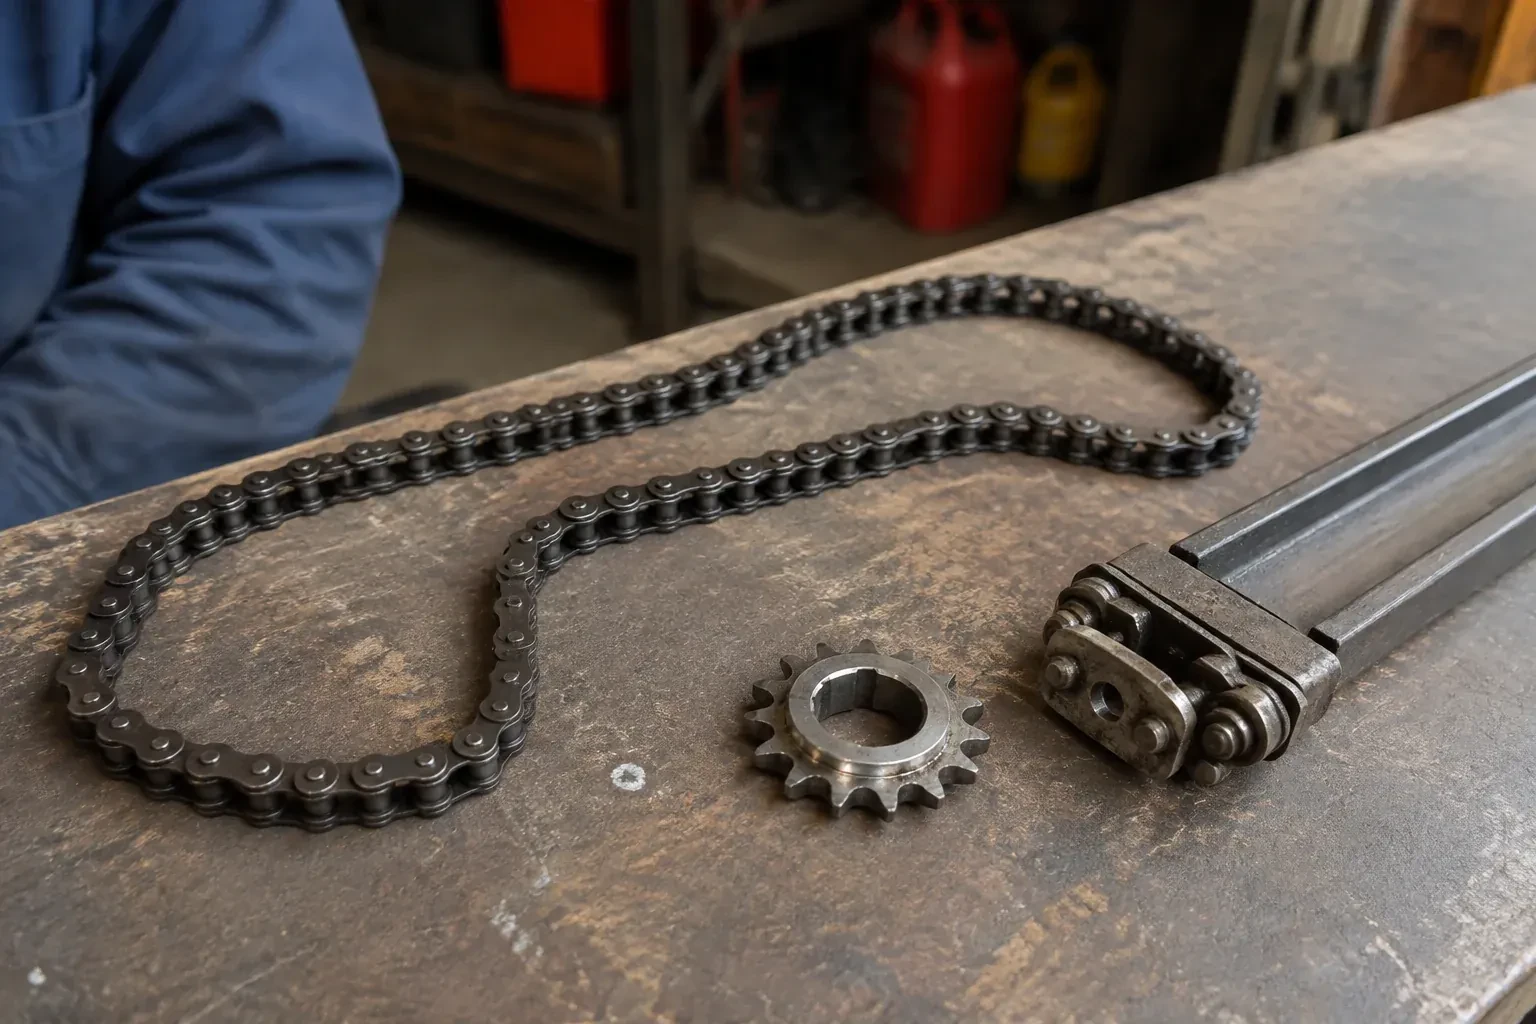
A trolley that was disconnected by the release cord is re-engaged: the door is placed by hand, the carriage is run to meet it, and the two latch together with an audible click. A stripped drive gear, the classic failure on chain-drive heads, is replaced as a kit: cover off, motor lifted, worn gear and sprocket out, new gear, sprocket, bushings and grease in, chain re-tensioned so it sags only slightly below the rail. A snapped or badly stretched chain or a frayed belt is replaced and tensioned. Each repair ends with a full open-and-close cycle while the technician watches the trolley for smooth, even travel.
A record you can keep
You receive a plain account of the visit: the model and serial of the opener, what the symptom turned out to be, which parts were replaced, what the travel and force settings are now, and anything noticed for the future, such as rollers approaching the end of their life or a spring nearing its cycle count. Keep this with the house papers. It makes a later service call shorter, it tells a buyer the door has been looked after, and it gives you the model number ready when a remote needs replacing or a code needs looking up.
Garage Door Opener Diagnosis and Repair
In the van
Remote batteries (coin and cylinder cells)
Bell wire and clips
Transformer and board fuse
Logic board or receiver
Wall control
Garage Door Opener Diagnosis and Repair
What affects the quote
Sensor realignment versus replacement
Straightening a bracket and cleaning a lens is a small task. Replacing the sensor pair and running new wire along the wall and ceiling is a larger one, and the quote names which applies.
Connected features
A unit with a network module, door-position sensor or hub may need its pairing restored or a module replaced, which is quoted as its own step alongside the mechanical repair.
Wiring to be re-run
Damaged low-voltage wire to the sensors or the wall control is replaced along its whole length and clipped clear of the track, so the distance and route from head unit to door frame affect the time.
What to have ready
- Are the two small lights on the sensors near the floor steady, flickering or off?
- Has anyone pulled the red emergency release cord recently?
- What does the opener do when you press a button: hum, click, run or nothing?
Garage Door Opener Diagnosis and Repair: questions
QuestionsWhat is the balance test, and is it something I can do?
Yes, with care. Close the door, pull the red release handle, and lift the door by hand, keeping fingers away from the panel joints. It should rise easily and stay where you leave it around waist to shoulder height. A door that drops, shoots up, or feels heavy has a spring problem and should not be run with the opener until a technician has seen it. Reconnect by running the opener or lifting until the trolley clicks in.
Should I lubricate the chain, the rail or the track?
Rollers, hinges, bearings and springs benefit from a garage door lubricant once or twice a year. The chain, belt or screw-drive rail is a separate question, since each drive type calls for its own product and schedule from the opener's manual rather than one rule for every unit. The track itself should stay clean and dry, because lubricant there collects grit and makes rollers slide instead of turning. The technician can point out the spots on your door at the end of the visit.
Why does the door stop just above the floor and reverse?
Two usual reasons. The travel limit is set a fraction too long, so the door reaches the slab, meets it harder than expected and interprets that as an obstruction. Or the bottom seal has stiffened or frozen and the last few centimetres take more force than the setting allows. Both are adjusted after the door is checked for balance, and the fix is confirmed by closing the door several times and running the contact reversal test.